From there we all proceeded by following the tutorials, provided by the lecturer. By first opening both images on the screen, putting both images in separate layers and then ‘Modifying’ both images so that they both are perfectly symmetrical and the facial features in one photo line up perfectly with the same features in the corresponding photo.
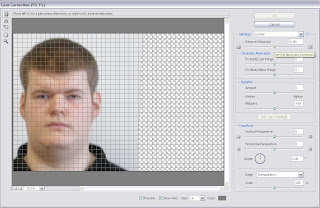
This was done by going to the ‘Filter’ Drop down menu and selecting ‘Distort’. This opens another drop down menu. I then selected ‘Lense Distortion’ and the below box opened.

With ‘Lens Distortion’ I was able to correct my two head shots so that the facial features on both lined up exactly. The front view is shown in the above screen dump having already been edited. This is shown as merely an example. You will also notice that the ‘Set distortion correction’ slider is also highlighted with a small text box visible in the top right hand corner.
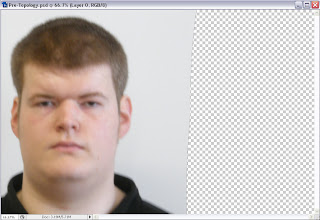
The end result image of the above edited photo is shown below.

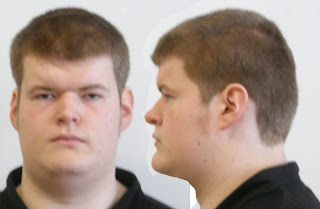
After having done that, I carried on by doing the same for the Side view photo and ended up with the finished image shown below.

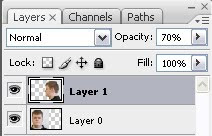
However, to get to the above image I first needed to make sure that the facial features did actually match up correctly. To do this, I selected the ‘Side Layer’ of the image and changed its ‘Opacity’ to 70% in order to accurately position and line up the features of the face to the frontal view.

Finally, after having completed this stage I am now able to move onto creating the main Topology.
No comments:
Post a Comment