I, regrettably, was unable to contribute my 3D Model of an aircraft hangar due to my 3D Studio Max licence expiring during the previous week. However, I recently applied for and received a new licence with Studio Max software and will be able to proceed with my portion of the modelling.
For this session I began looking for preference images which I will, later, be able to edit to make some material maps to make the 3D Model appear more realistic.
Below are some of the preference pics I will be using:
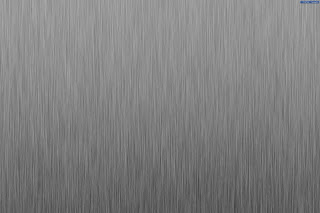
Stainless Steel:

This will possibly be used for the roof and will have a panelled effect. This will include rivets or nails being put on the panels to show how the roof fits together. I will be making these modifications in Photoshop.
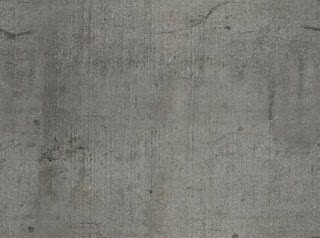
Concrete:
(Note: image below is an example.)

It was suggested by the lecturer that the best way to get an idea of what a concrete wall would look like is to actually take a photo of the real thing and then edit it in Photoshop or, in Studio Max, adding a ‘Bump’ texture to it to represent the texture realistically.
Ridged Steel:
I may need to do the same for the ‘Ridged Steel’ as I am going to do with the concrete and take a photo of it and create a material map for it on Photoshop. I intend for this to be used as the upper half for the outside walls of the hangar.
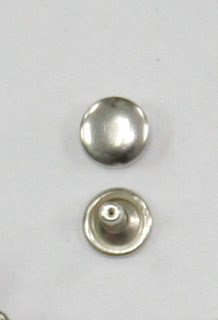
Metal Rivet

These will be added to the roof material to better show that panels are layered and fastened together to give the illusion of a solid structure.
The above images were found from these Websites:
Steel
Concrete
Metal Rivet
No comments:
Post a Comment