First, opening Photoshop and opening both the ‘Rivet’ and ‘Stainless Steel’ images. From those images I can create the stainless roof for the Hangar.
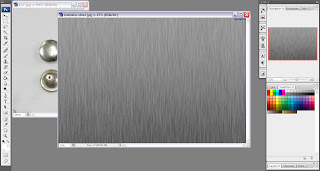
I proceeded from here by increasing the canvas size by four times the current size to create more space to duplicate the stainless steel plates to give a layered effect for the roof.
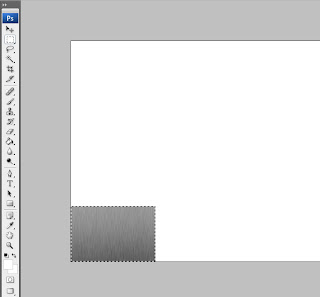
Leaving that for the moment, I set about turning my attention on editing the ‘Rivet’ image by using the ‘Quick Mask Mode’ in Photoshop.
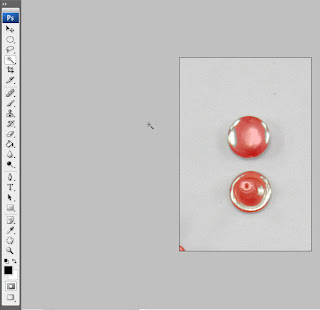
This creates the finished result below.
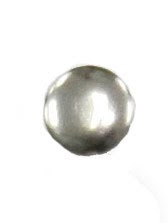
Taking the above image of the ‘Rivet’ I added it onto the ‘Stainless Steel’ image on a separate layer to show a riveted plate. I did this a total of 4 times in each corner.
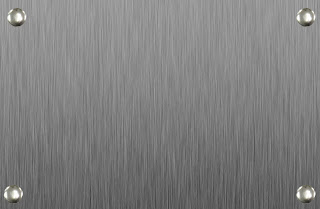
The final step was selecting the riveted, stainless steel image and duplicating it on several layers to fill the remaining canvas space.

Now that the Map has been finished in Photoshop, I can move on to adding both maps to the 3D Model on ‘Studio Max’.
.jpg)
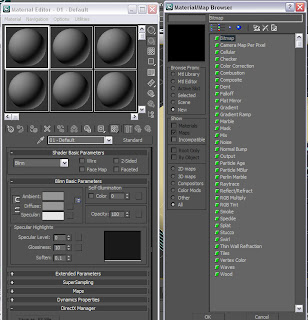
Opening up ‘Hangar example 1.3dsMax scene’ file and opening ‘Material Editor, I selected ‘Diffuse colour’ and selected ‘bitmap’, opening ‘stainless_steel_3.jpg’ and added it to the roof of the hangar model.
After adding the map initially, I found that the image file was much too big because it was showing up as a black on the material editor. I attempted to correct this by changing the size of the image in Photoshop, although it appeared I needed to resize the image several times by tweaking the ‘Image Size’ tool in Photoshop before it would show up on the material editor.
I did the same with ‘CONCRETE_014.jpg’ file and dragged the map from the ‘Material Editor’ to the wall of the hangar.
.jpg)
I showed the progress I made on the model thus far to the lecturer and it was suggested that I add some texture to give the model a bit more depth. I took her suggestion on board and first added a ‘Bump’ Texture to the wall to see how it would look.
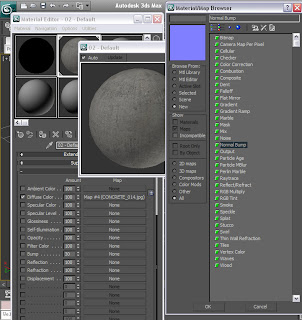.jpg)
I wasn’t satisfied with the outcome, mainly because it hardly showed at all on the model so I decided to go with a dent texture instead to see if it would give the appropriate effect.
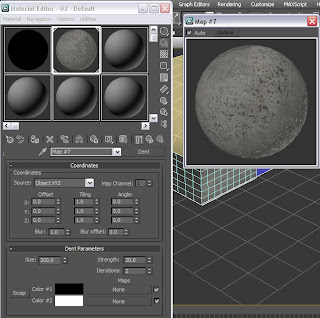.jpg)
I was pleased with the result as the ‘Dent’ texture did indeed give the concrete wall a more realistic feel.
Now that I am pleased with model textures I decided it was time to group all the model components together so that there would be less to export later.
Before I grouped the hangar components, I decided to first duplicate the hangar by first selecting all the components of the model then, using the ‘Clone’ tool, dragged the copied hangar alongside the first to give a better feel of an airport with multiple aircraft hangars.
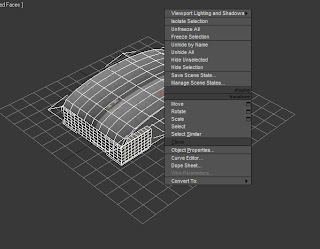
After cloning the hangar I did a render of the scene so far and this is the result.
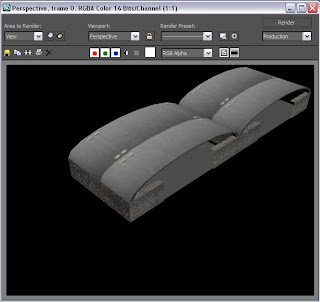
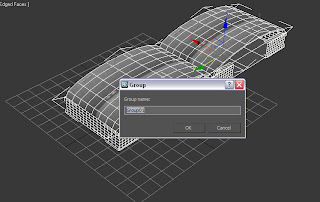
After having rendered the scene and am pleased with the result I clicked on the ‘Group’ icon on the main toolbar in ‘Studio Max’ and named the group ‘Group1’.
No comments:
Post a Comment