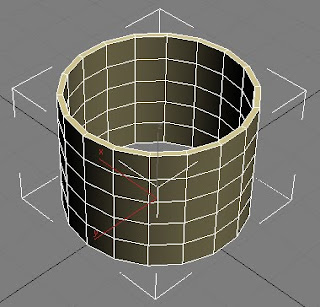
Next, I added an ‘Edit Poly’ modifier to the tube, rotated the tube so that it’s lying on its side with half its mass above and below stage grid and then halved the tube to make a 9 sided semi circular tube. I did this via changing the ‘edit poly’ modifier to ‘Vertex’.
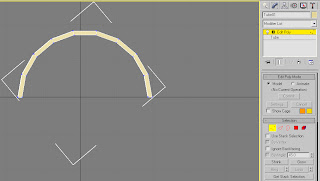
Now that I have the basic shape of the hangar roof I went about reshaping the half tube to better represent the roof in the hangar design shown above. It was suggested to me by my Learning Support Advisor (LSA) that I use the ‘Uniform Scale’ tool, on the main tool bar, to stretch and compress to scale the half tube rather than go use the scenic route and halve the tube again, reshape it one vertex at a time and then duplicate it to get the final result. I personally found the stretch and compress method much easier and less time consuming.
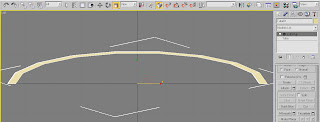
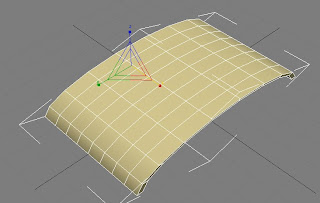
Below is the above image in the perspective view and shows that it has been stretched over all 3 dimensions.
Now that the shape of the roof is done, I moved onto the hangar walls and opening for the doors. I started this by first creating a ‘Box’ called ‘Box1’, and changed the segment dimensions to L=6 seg, W=15 seg and H=33 seg (Shown below).
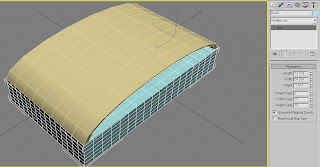
The step I undertook was hollowing out ‘Box1’ in order to form the walls and doors around the outside. I did this by again adding an ‘Edit Poly’ modifier and changing it to ‘Vertex’ and then deleting the inner segments by selecting all the vertex dots, while in ‘top view’ and clicking delete to leave a 1 segment deep wall around the outside.
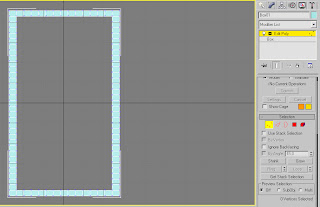
After having created the walls the next step was to make a whole for the plane to go through, this will be the hangar door (Shown in the below Screen Dump).
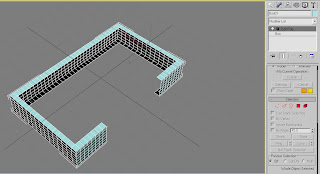
At this stage I discovered a problem with the number of Segments for the height of the box. It appeared that I needed an extra segment on the height of the box for the doors to open and close effectively.
After I tended to this problem, I then started on the doors by creating two planes, rotating them sideways and placing them against the front walls.
Due to new information regarding the animation section which will be done next week, I will not need to create doors for the hanger seeing as the plane won’t be coming out of the hangars.
This said, I can now proceed onto the next step of creating a flat plain for the Hangar floor and begin applying maps and textures to the hangar roof, walls and floor (of which I will begin during next week’s lecture).
Note: Next week the rest of the group will be compiling their 3D models of their allocated tasks and combining them to begin the animation.
No comments:
Post a Comment